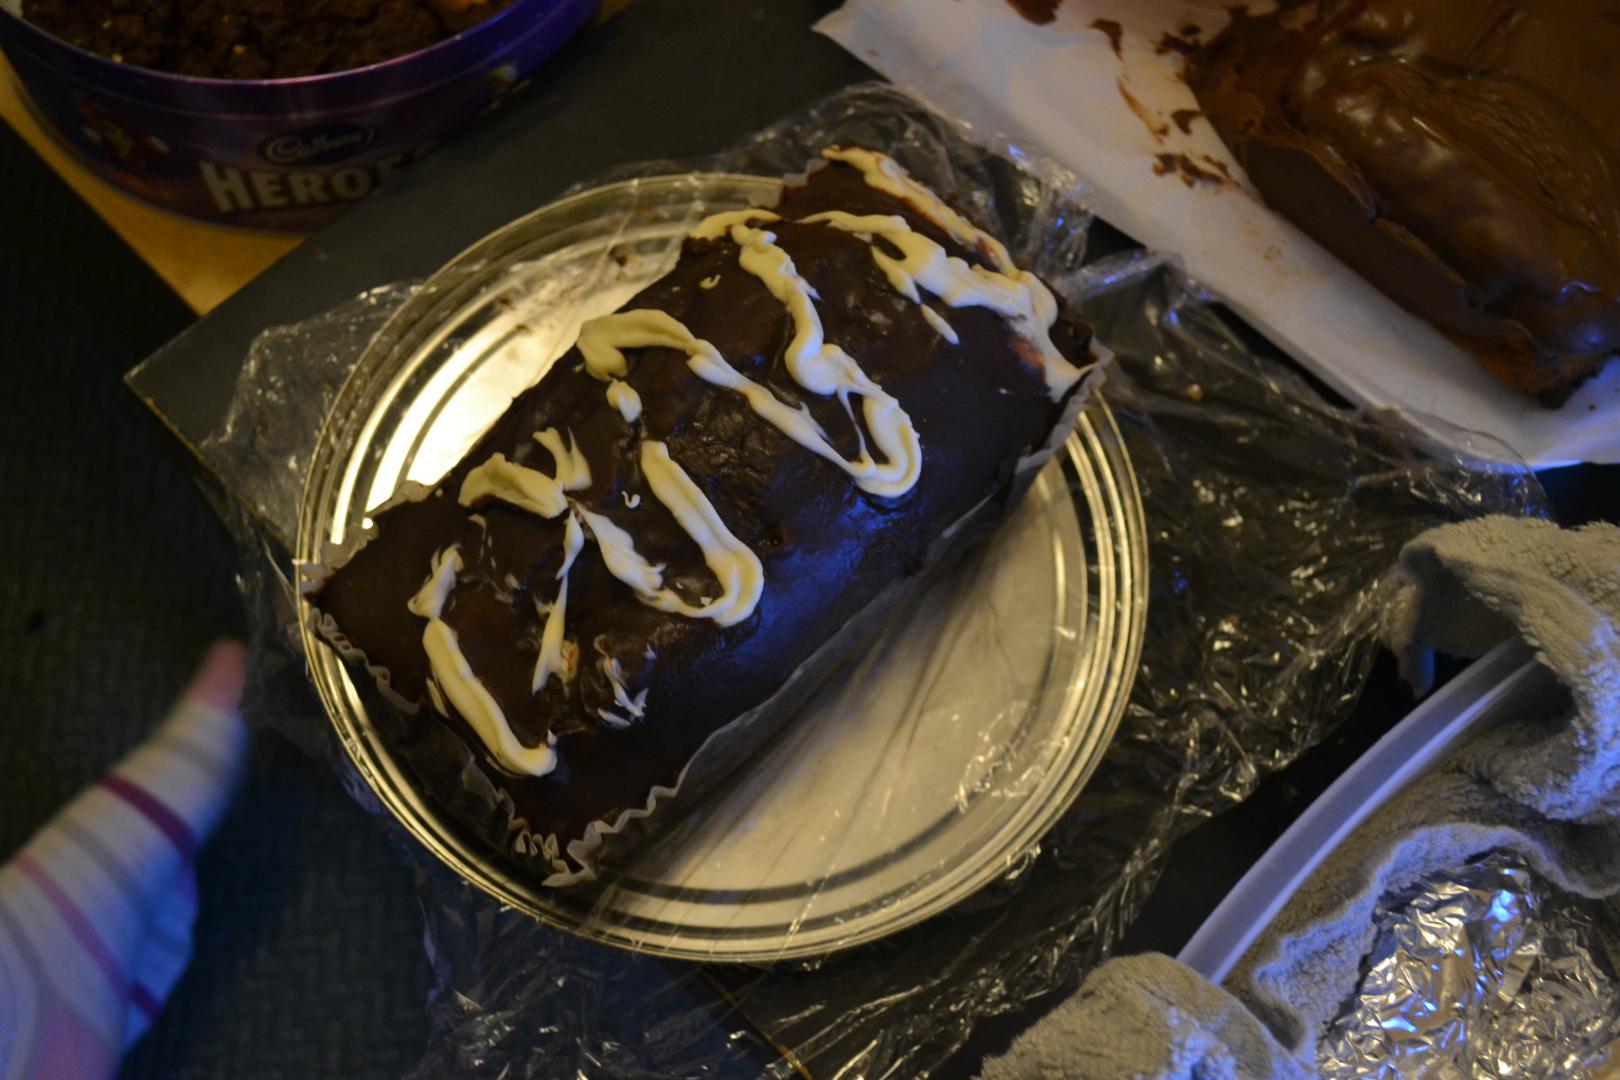
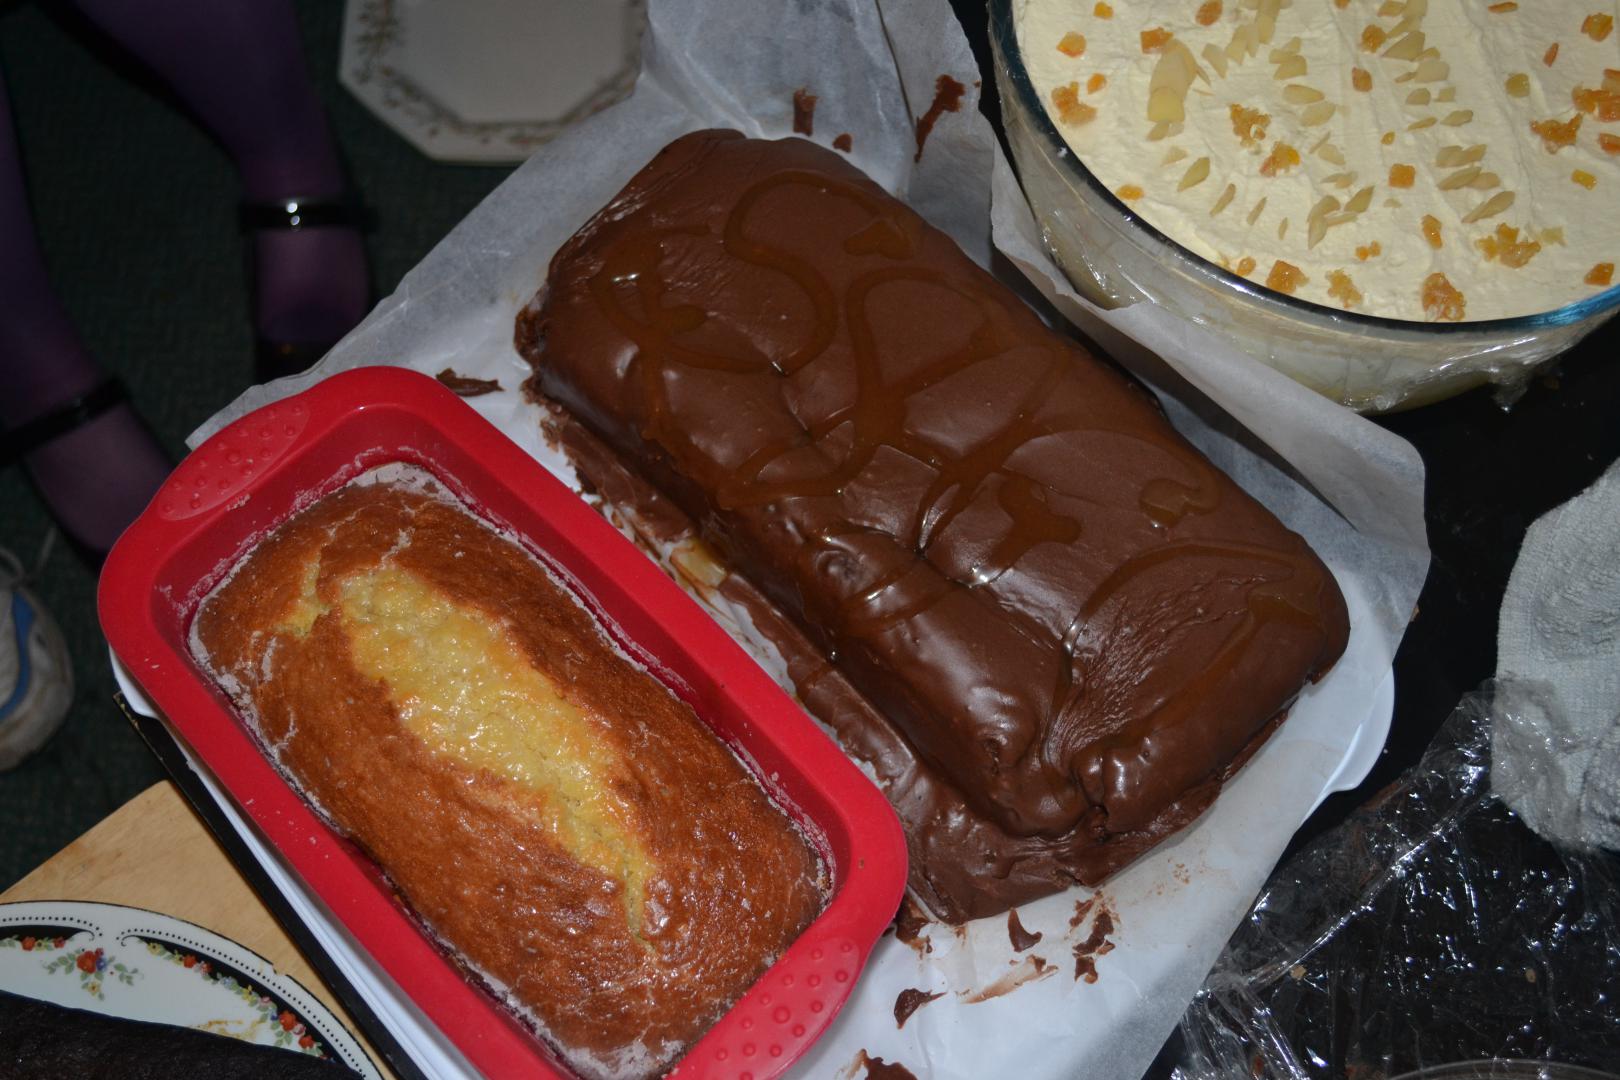
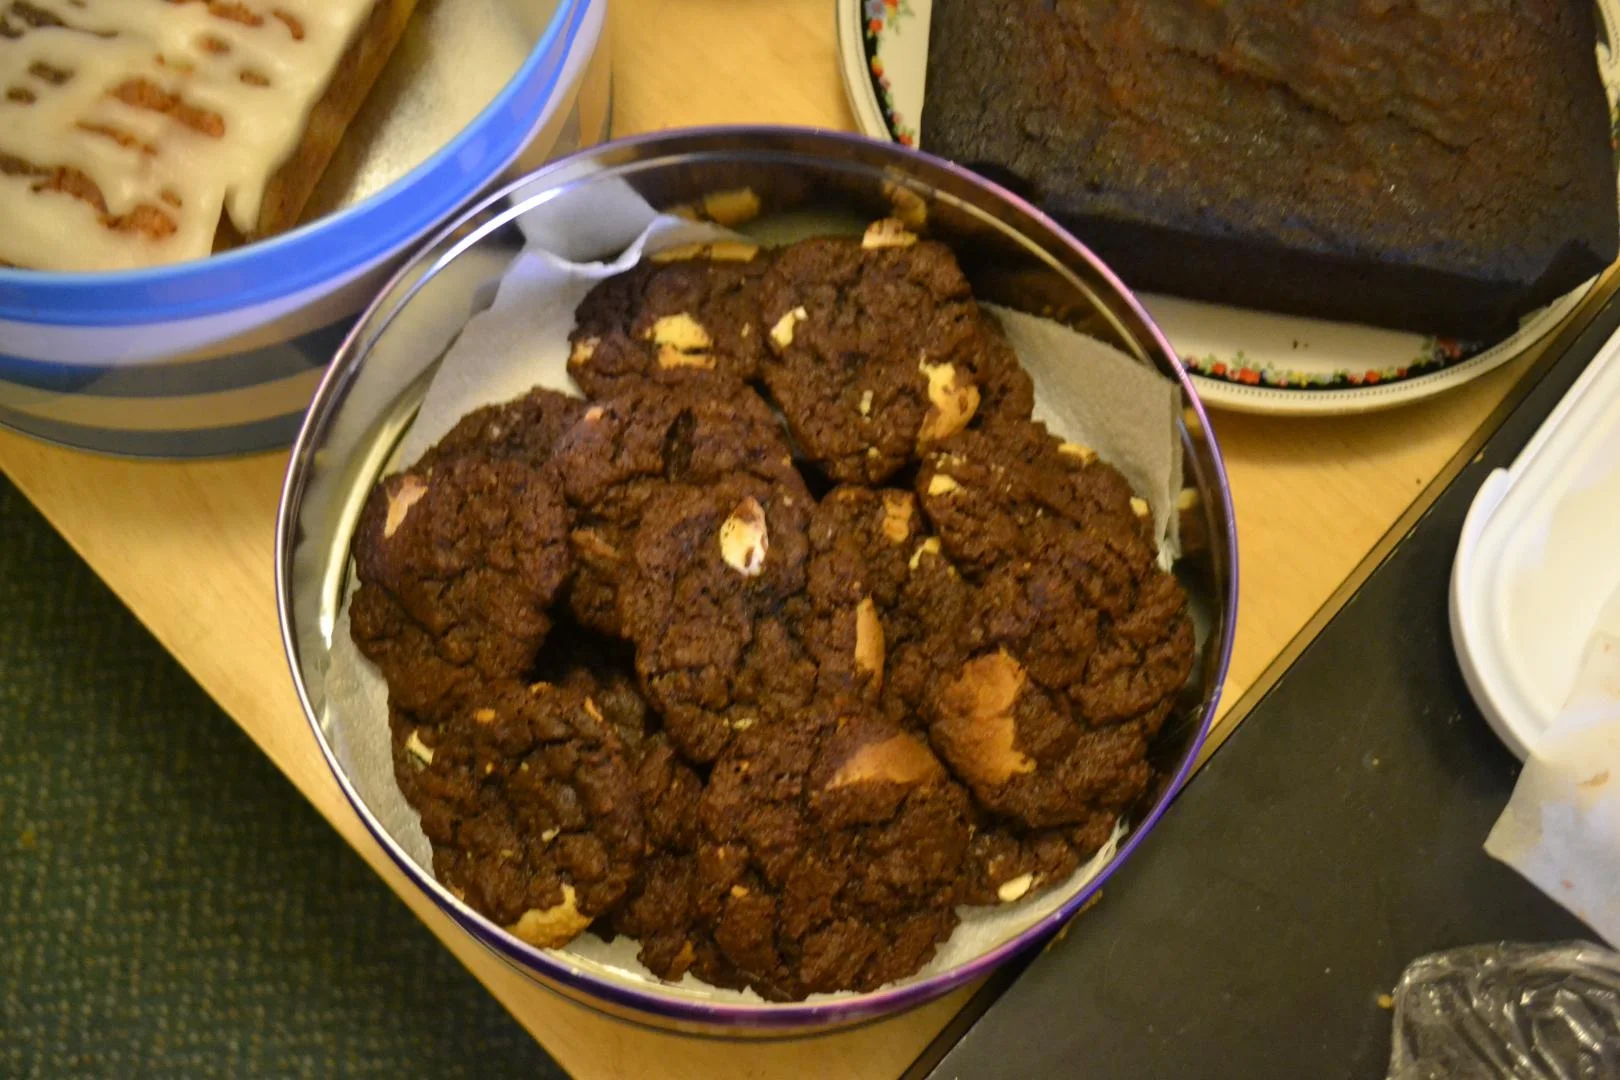
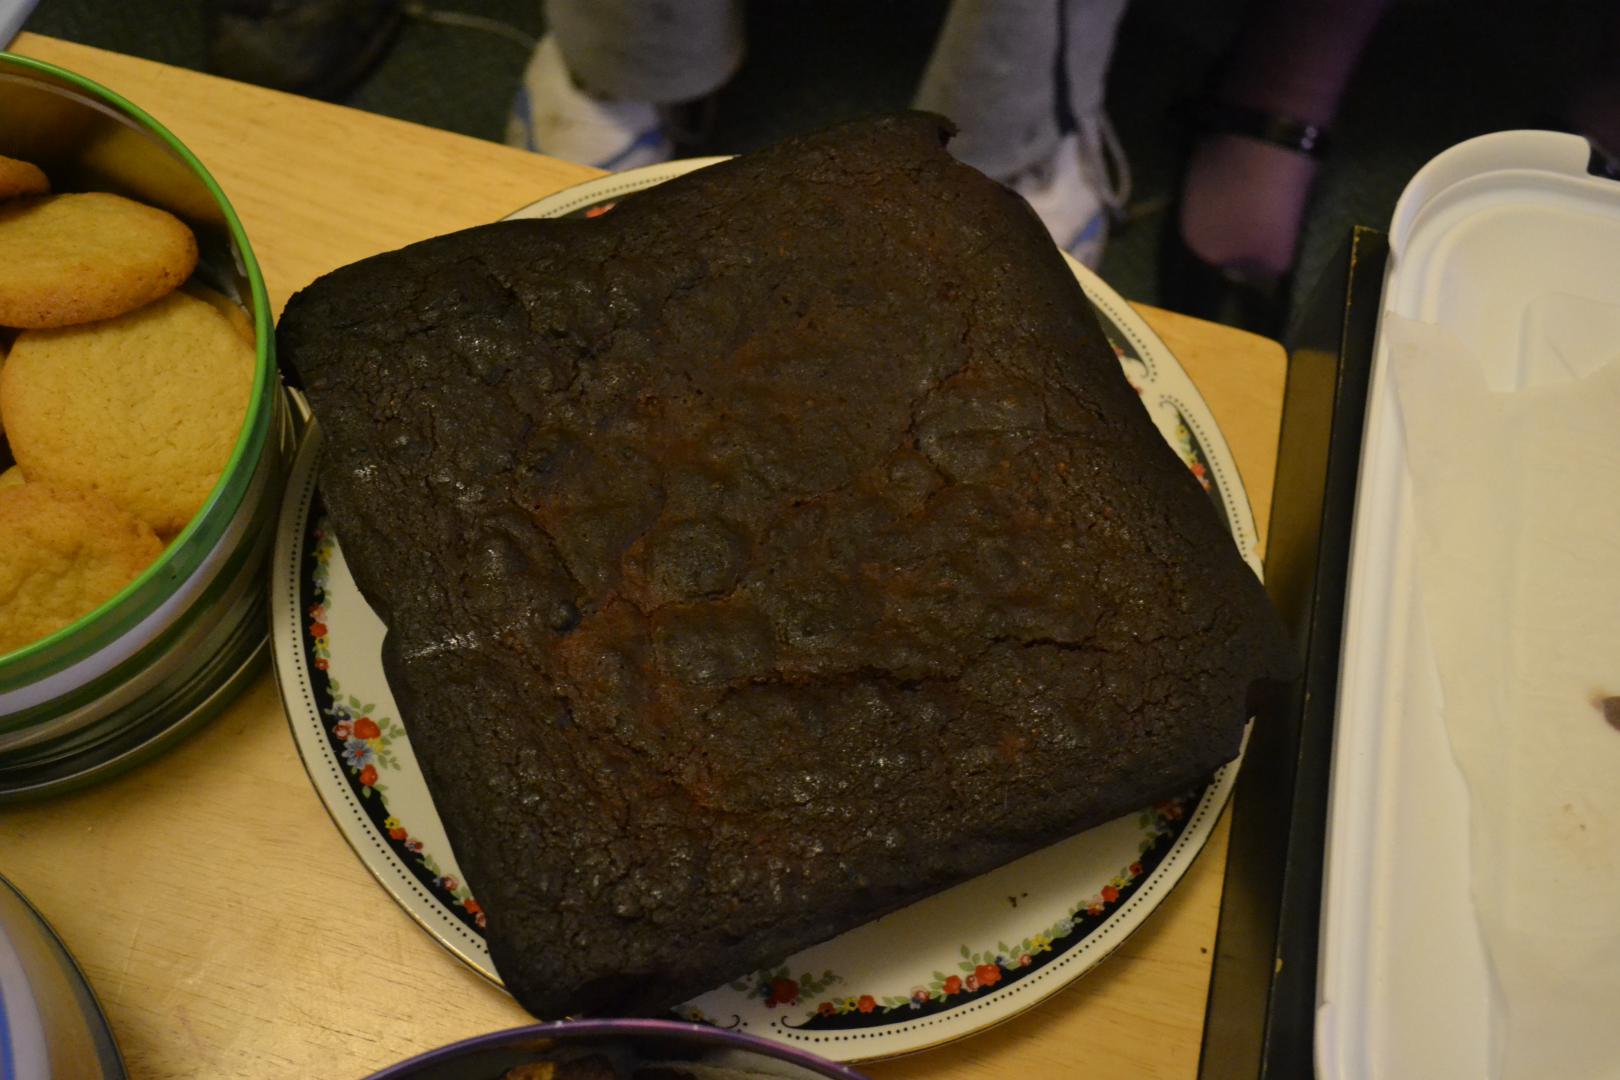
Chocolate

MRI Scanner Cake 2013

MRI Scanner Cake 2013

In which I bake another, more ambitious, MRI scanner cake...

The ISBE annual BBQ was on Friday so I had to once again attempt to bake an MRI scanner cake. I decided to go for a more realistic one than previously.

The basic cake is made using Delia's All-in-one Sponge recipe and then things get a little crazy as I make 4 of them.

Moist Rich Indulgent (MRI) Cake

Moist Rich Indulgent (MRI) Cake

In which I post a really late cake...

Apologies for further lack of tea - reviews will be coming next week I promise :)

MRI Cake

2 years ago, just as I had started this blog*, I had to go to a departmental barbecue and they asked people to make cakes - this is what I did!

*before I posted regularly.

The Cake

  • I used a simple sponge recipe to make two 9" round chocolate cakes. 
  • I used a round cookie cutter to remove the centre of one of the cakes.
  • I stuck the cakes together with jam.
  • I used ready roll icing to cover the cake pushing it down around the edges.
  • And trimmed the icing to make a hole and give it nice edges.
  • I then made a scanner bed out of icing.
  • And put the correct writing onto the 'scanner'.

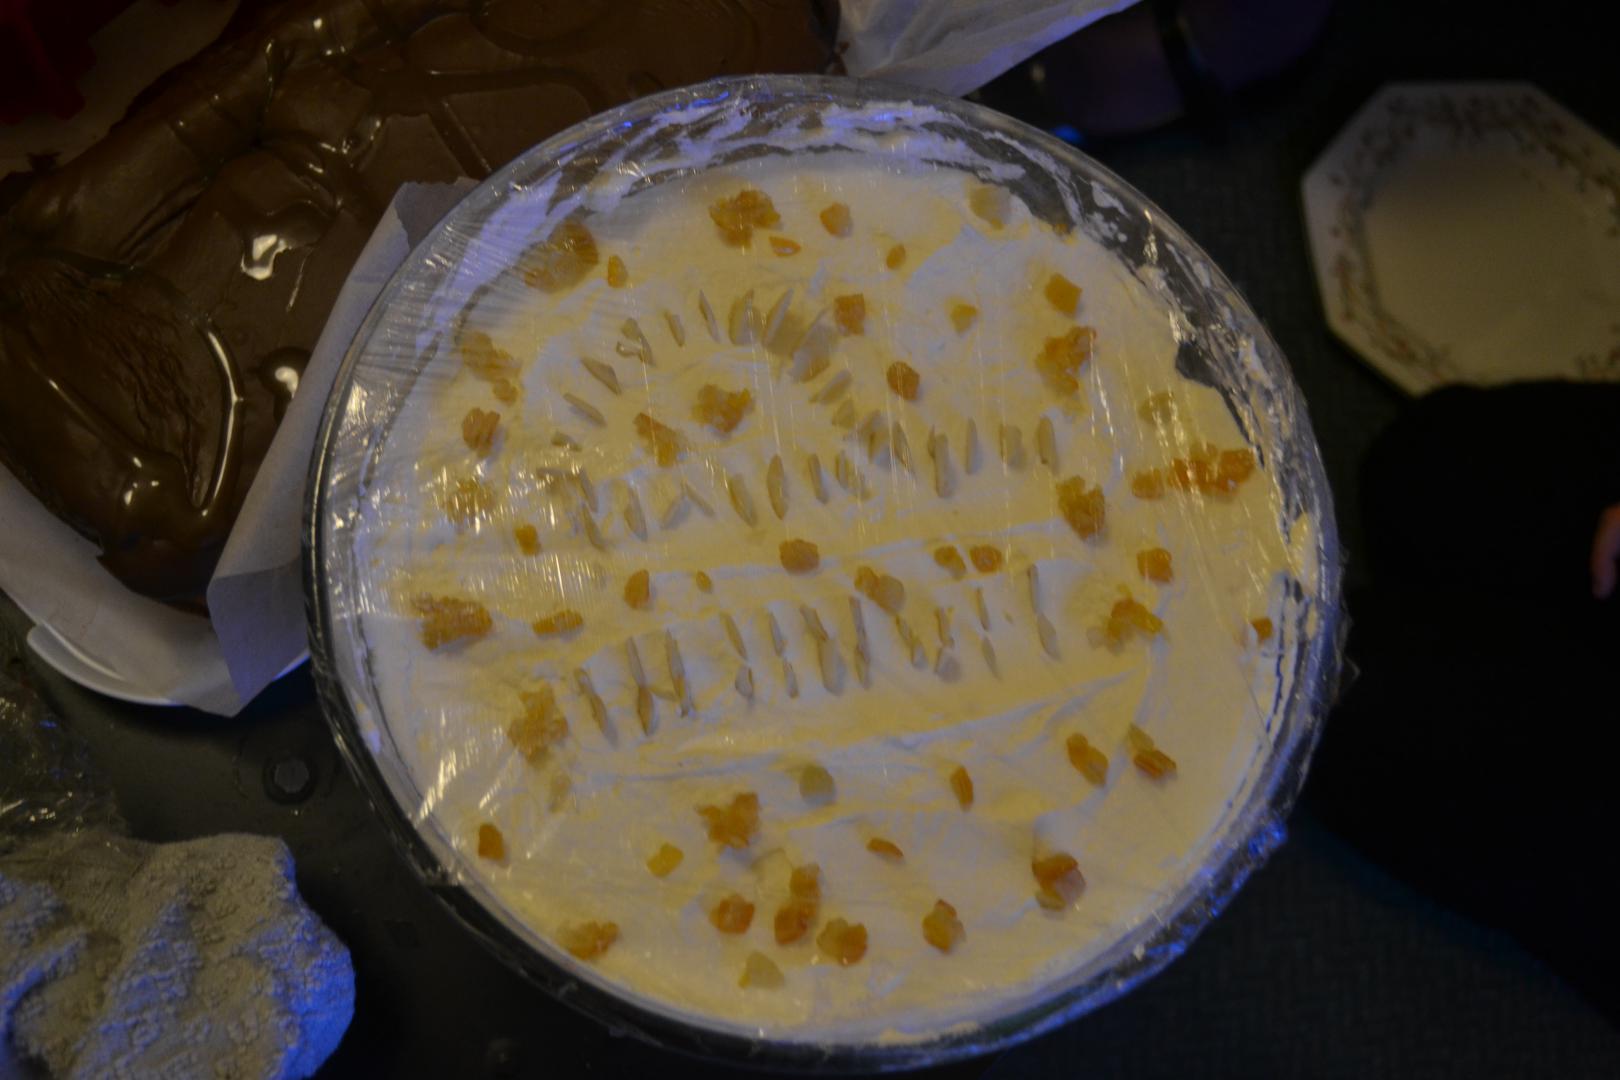
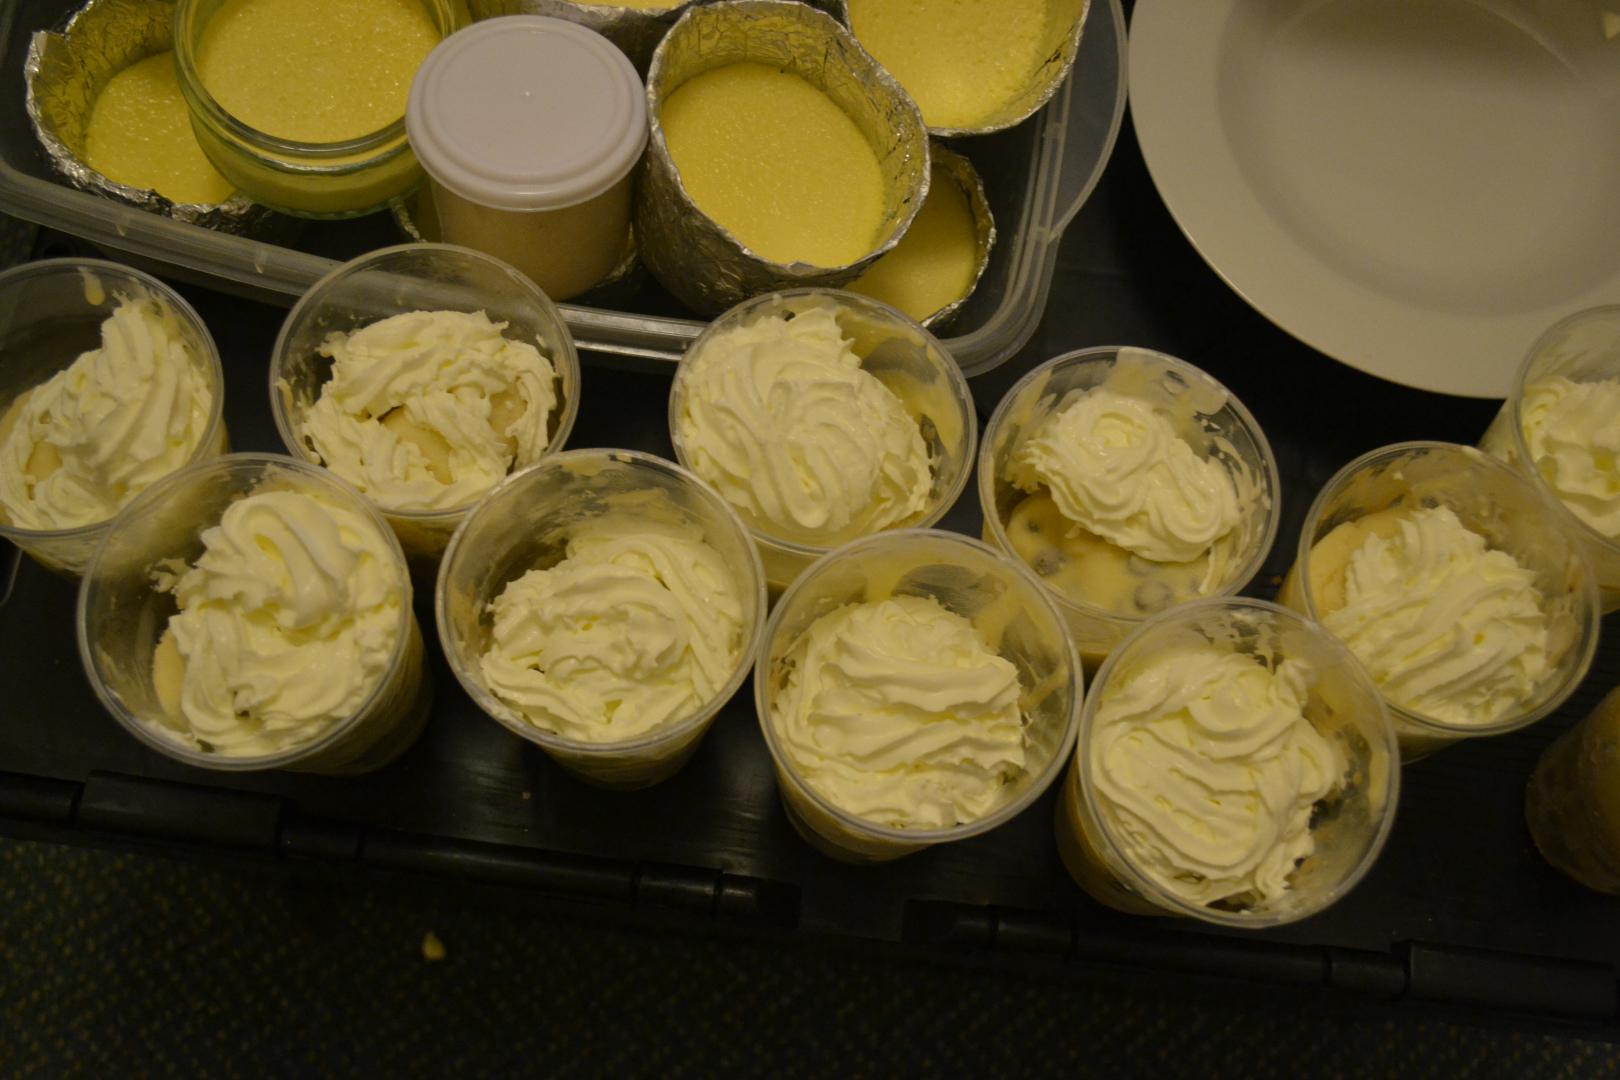
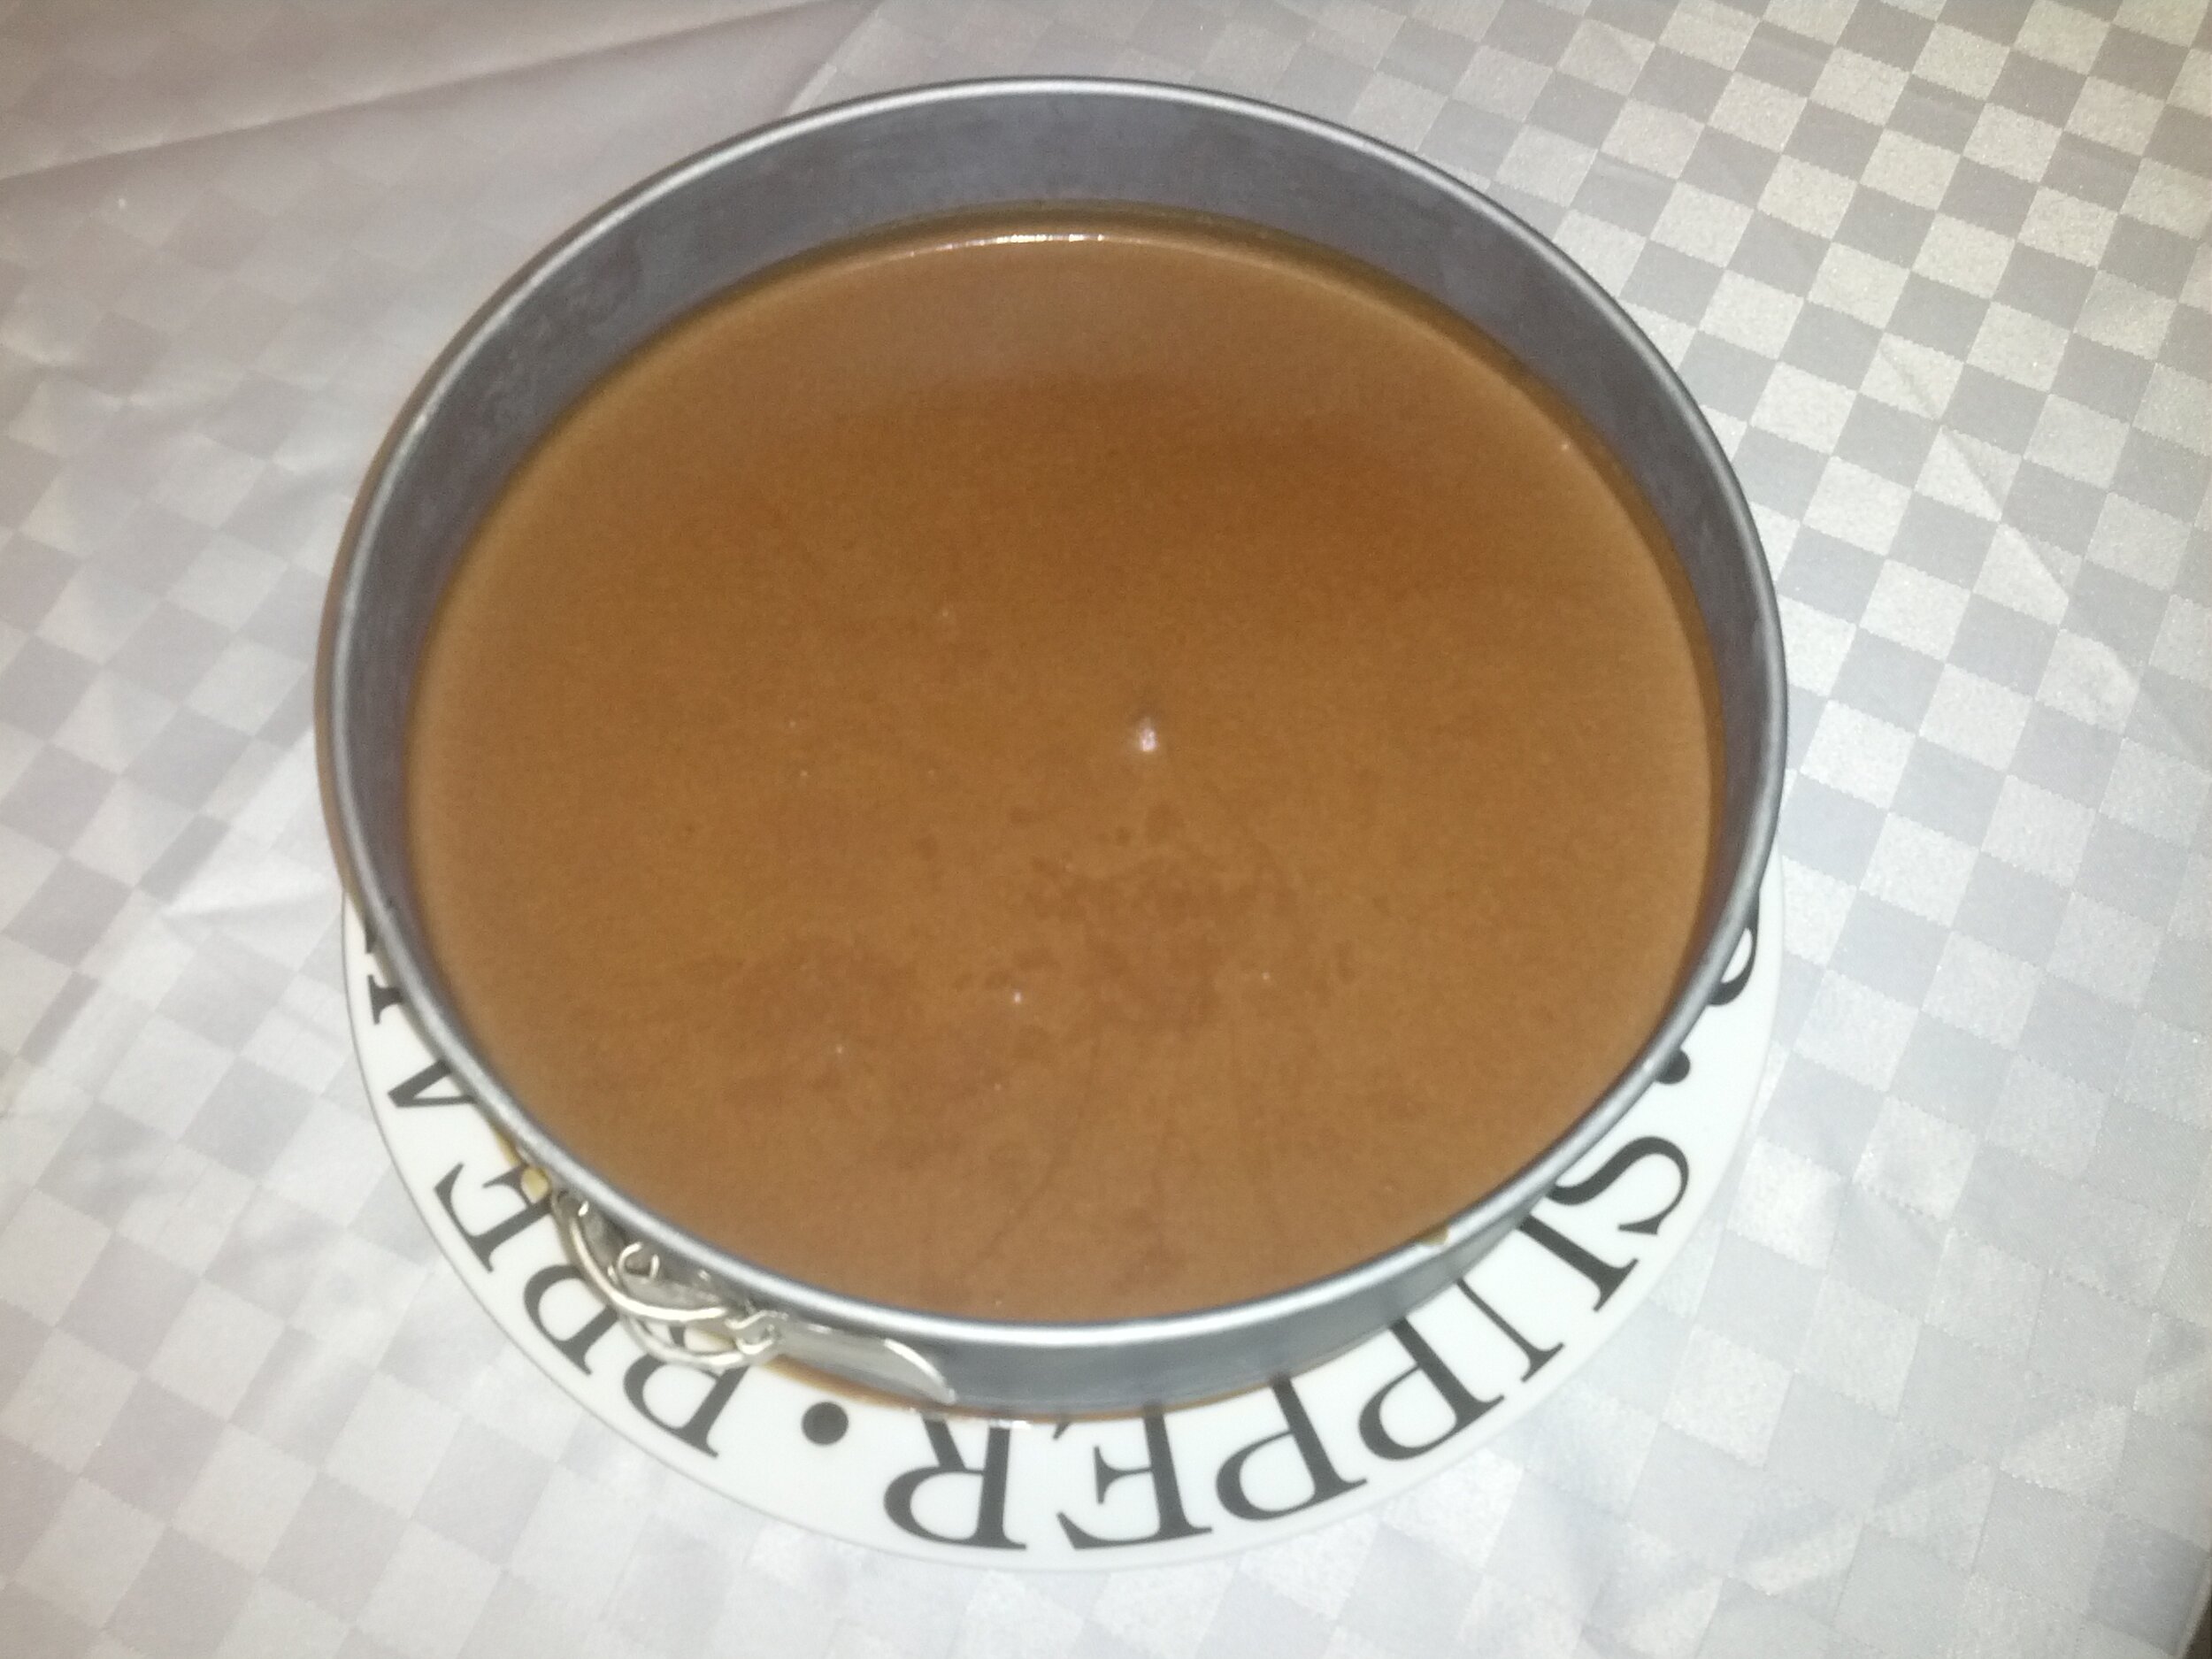
Vanilla & Chocolate Cheesecake

In which a vanilla and chocolate cheesecake is made ahead of tea testing...

Obviously tea testing requires suitable cake (someone else was already making scones for it) so a decadent cheesecake was required :)

Ingredients

  • 175g caster sugar
  • 450g cream cheese
  • vanilla pod
  • 75ml lemon juice
  • 175ml crème fraiche
  • 625ml double cream
  • 150g dark chocolate
  • 25g butter
  • 12 dark chocolate HobNobs

Recipe

  1. Crush your biscuits of choice (HobNobs :D ) with a rolling pin.
  2. Melt butter.
  3. Mix.
  4. Press into the bottom of a 9-inch cake tin.
  5. Chill in fridge while preparing filling.
  6. Cut the vanilla pod open and scrape out the seeds.
  7. Mix the sugar, cream cheese and vanilla seeds together.
  8. Whisk lemon juice, 475 ml cream and crème fraiche until they form soft peaks.
  9. Fold the mixtures together.
  10. Melt dark chocolate into remaining cream.
  11. Cool until you can make a trail with it.
  12. Put a third of the cheese mix into the base.
  13. Swirl chocolate mix on top.
  14. Repeat until all the filling has been used.
  15. Use a sharp knife/long cocktail stick to swirl the mixtures together.
  16. Chill for approx 5 hours (I did overnight).
  17. Enjoy!
Cheesecake

Tom Out!

P.S. http://www.bbcgoodfood.com/recipes/11296/gordons-cheesecake

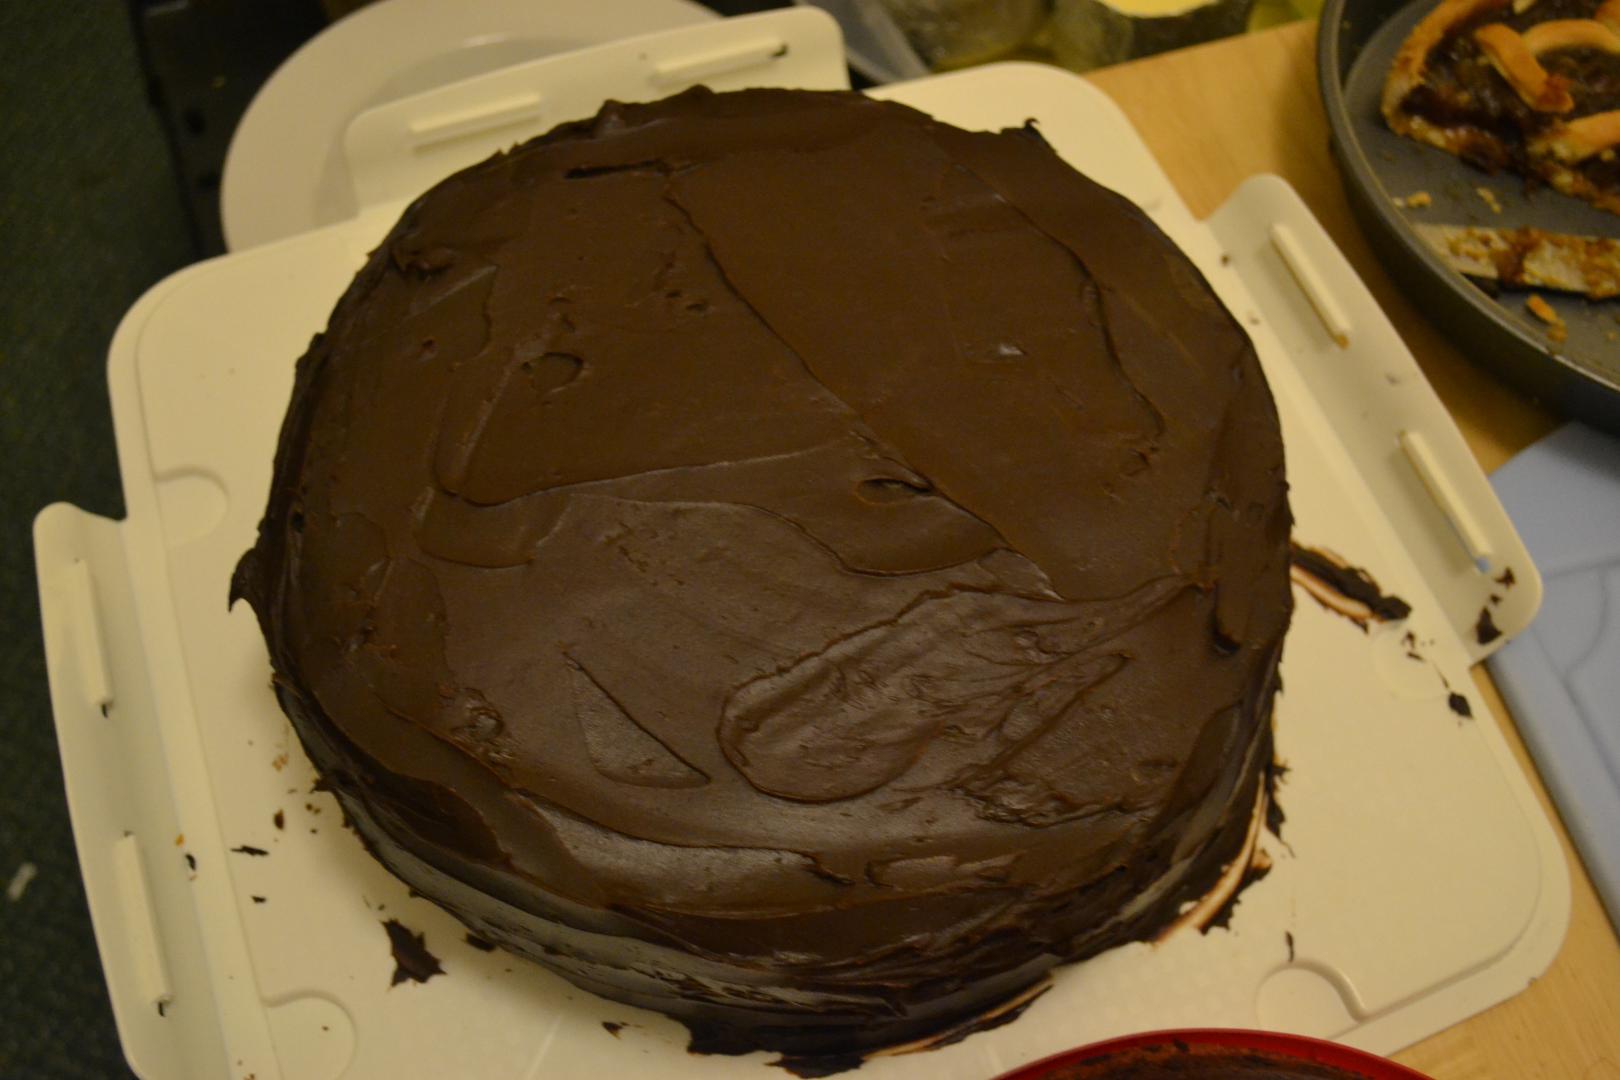
Bruce Bogtrotter's Cake

In which I make a ridonculously chocolaty cake from a possibly recognisable children's book...

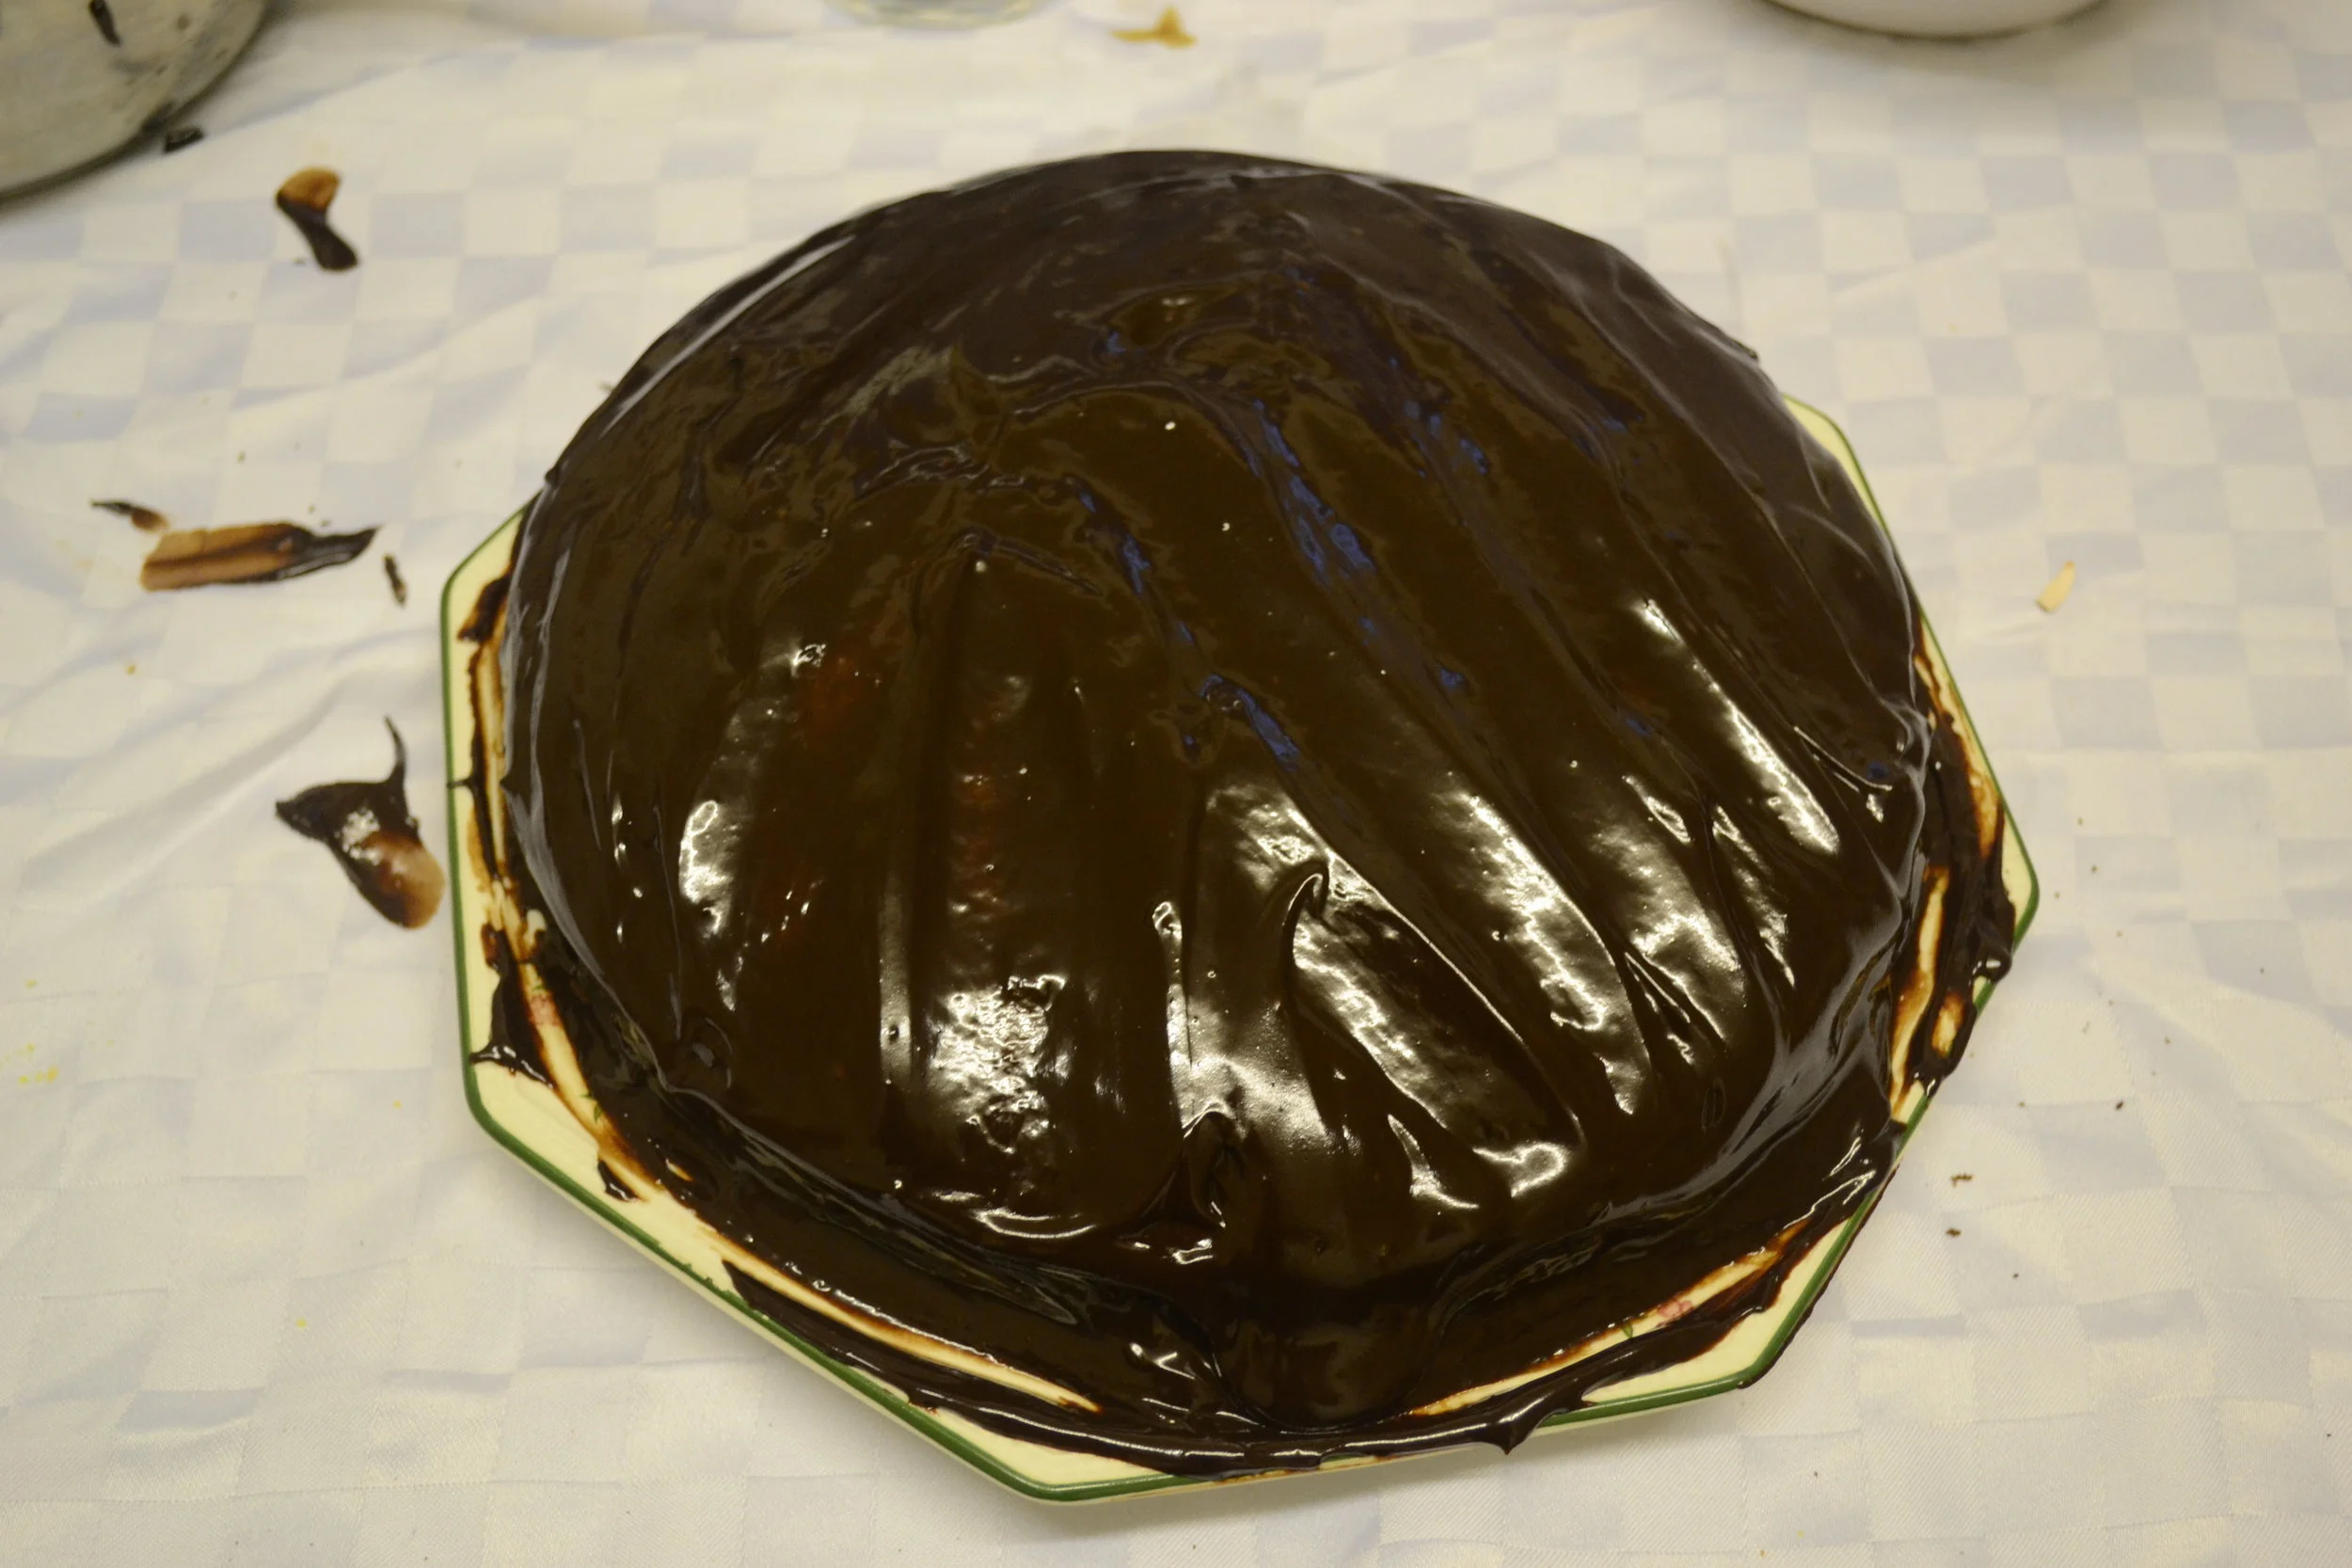
I'm sure many of you will have read/seen Matilda by Roald Dahl. There is a famous scene in which Bruce Bogtrotter having stolen some of the Trunchbull's personal cake is forced to eat an entire chocolate cake.

Luckily Gary Rhodes (you know that TV chef you haven't seen in a while) wrote a recipe book called Roald Dahl's Revolting Recipes which tells you how to bake a slightly smaller version of the cake.*

*The cake in the book is "fully eighteen inches in diameter". The original recipe makes a 9" cake so I doubled the ingredients and made it twice as high!

Ingredients

  • 450g plain dark chocolate
  • 350g butter
  • 450g caster sugar
  • 120g self raising flour
  • 12 eggs (separated)

Icing

  • 450g plain dark chocolate
  • 450ml double cream
Chocolate!

Recipe

Mixing choc and butter

  • Melt the chocolate and butter together.
  • Allow to cool (so it doesn't cook the eggs).
  • Mix in sugar, flour and egg yolks.

Stiff peaks in the egg whites

  • Whisk the egg whites until stiff peaks are formed.

Mixing the eggs into the chocolate


  • Fold half of the egg whites into the chocolate mixture.
  • Fold in the other half until just combined.
  • Grease two 9-inch (21 cm) cake tins.
  • Bake at 150°C for 35-45 minutes (keep checking with a knife and don't burn it!)
  • Leave to cool on a rack while you make the icing.
  • To make the icing simply melt the chocolate into the cream over a low heat.
  • Leave the icing to cool (~2 hours unless you speed it up in a fridge)
  • Ice the cake (you should have around half an inch of coverage all over)
  • Serve
Bruce Bogtrotter's Cake

Tom Out!

P.S. Pudding party pics to follow!

Regular 4-sided polygons flavoured with the seed of Theobroma cacao (aka Brownies)

In which I bake brownies and try to imitate the inimitable Wade...

On Sunday I tasted a brownie and it was good. I asked Wade for the recipe. For those who have never enjoyed a Wade email (he was ManSSAGO secretary) I will try to write this in a similar way to this wonderful worldly wordy wordsmith!

Culinary Necessities (some optional)*

  • 250g dark chocolate

  • 200g butter

  • 150g brown sugar

  • 350g caster sugar

  • 2 tbsp golden syrup

  • 4 eggs

  • 1-2 tsp vanilla essence (optional)

  • 200g self raising flour

  • an arbitrary amount of cocoa (1-2 tbsp)

*The chef points out that this recipe scales linearly if you want more or less of it

Mostly Non-arbitrary Techniques to Employ in Some Form of List-like Order

2012-11-06-17-40-11.jpg
  • Apply heat in a manner which causes gentle merging of constituent parts (Melt)

  • Enjoy in an olfactory manner

  • Agitate (whisk) the ovoid ovums (eggs)

  • Mix in the chocolate ecstasy (allow to cool first, you don't want to cook the eggs)

  • Sieve in ground wheat (flour) and the seed of Theobroma cacao (cocoa)

  • Fold it in

  • Apply grease resistant flat tree matter (greaseproof paper) to a containment device (It's a TRAY!)

  • Chuck in the oven at an arbitrary place on the Celsius scale (~200°C)

  • Allow the passage of multiple time units (30-40 mins) until stodgy (knife not entirely clean when stabbed through)

  • Let it return to near room temp

2012-11-06-21-26-46.jpg
  • Enjoy with your sense of gustatory perception

Remember, Remember

On the subject of verbose verbiage we're only a day late for one of the best speeches ever:

"Voilà! In view, a humble vaudevillian veteran, cast vicariously as both victim and villian by the vicissitudes of Fate. This visage, no mere veneer of vanity, is a vestige of the vox populi, now vacant, vanished. However, this valorous visitation of a by-gone vexation, stands vivified and has vowed to vanquish these venal and virulent vermin vanguarding vice and vouchsafing the violently vicious and voracious violation of volition. The only verdict is vengence; a vendetta, held as a votive, not in vain, for the value and veracity of such shall one day vindicate the vigilant and the virtuous. Verily, this vichyssoise of verbiage veers most verbose, so let me simply add that it is my very good honor to meet you and you may call me V."

Tom Out!

P.S. V for Vendetta: http://en.wikipedia.org/wiki/V_for_Vendetta_(film)

Red Velvet Cake

In which I shamelessly bow to the whims of the masses (one person who replied) and make red velvet cake.

Ingredients

  • 650g butter

  • 650g caster sugar

  • 10 eggs

  • 1 tbsp vanilla essence

  • 650g self raising flour

  • 75g cocoa powder

  • 70ml red food colouring

  • 300g icing sugar [icing]†

  • 500g butter [icing]†

  • blue food colouring [icing]†

†I generally just make the icing by eye so these aren't accurate measurements.

How-to

  1. Pre-heat oven to 180°C.

  2. Cream butter and sugar together.*

  3. Beat in a ⅓ of the eggs, a ⅓ of the flour and the vanilla essence.

  4. Beat in the second third of eggs and flour.

  5. Beat in the cocoa and remaining eggs and flour.

  6. Add the food colouring.

  7. Mix thoroughly.

  8. Grease two 9'' round cake tins.

  9. Place half the mixture in each tin.

  10. Bake for 1 hr 15 mins (use your judgement mine took a little longer).

  11. Leave to cool on a wire rack.

Icing

  1. Cream the icing sugar and butter together.

  2. Add blue food colouring.

  3. Mix well.

  4. Apply liberally to your cake.

  5. Enjoy :)

*You will need a LARGE bowl!

Tom Out!

P.S. Based on: http://www.bbc.co.uk/food/recipes/three-tier_red_velvet_17795

Giant Jaffa Cake

Ingredients

  • 12 oz self raising flour*

  • 12 oz caster sugar

  • 12 oz margarine/unsalted butter

  • 6 medium eggs

  • 2 packs orange jelly

  • 1 pint water

  • 300g chocolate

How-to

  1. Cream the sugar and marge together in a big bowl

  2. Add in the flour and eggs slowly.

  3. Mix thoroughly.

  4. Bake in a frying pan at 180°C for ~30 minutes (or until cooked through)

  5. Leave to cool.

  6. Dissolve two packets jelly in ½ pint boiling water.

  7. Make up jelly to 1 pint by adding ½ pint cold water.

  8. Leave to cool in a small bowl (pick one the correct size and shape for a good jaffa cake look).

  9. Carefully slide a knife around of the jelly and then upturn on top of your cake base.

  10. Melt the chocolate in a bain-marie (small ceramic/glass bowl in a saucepan of hot water).

  11. Coat the (top of the) cake in chocolate.

  12. Allow to cool

  13. Apply a pattern in any remaining chocolate to the top.

  14. Allow to cool.

  15. Enjoy :D

Enjoyed!

*The original recipe said that baking powder was required then their cake overflowed. It really isn't required.

Tom Out!

P.S. Original recipe: http://www.pimpthatsnack.com/project/332/

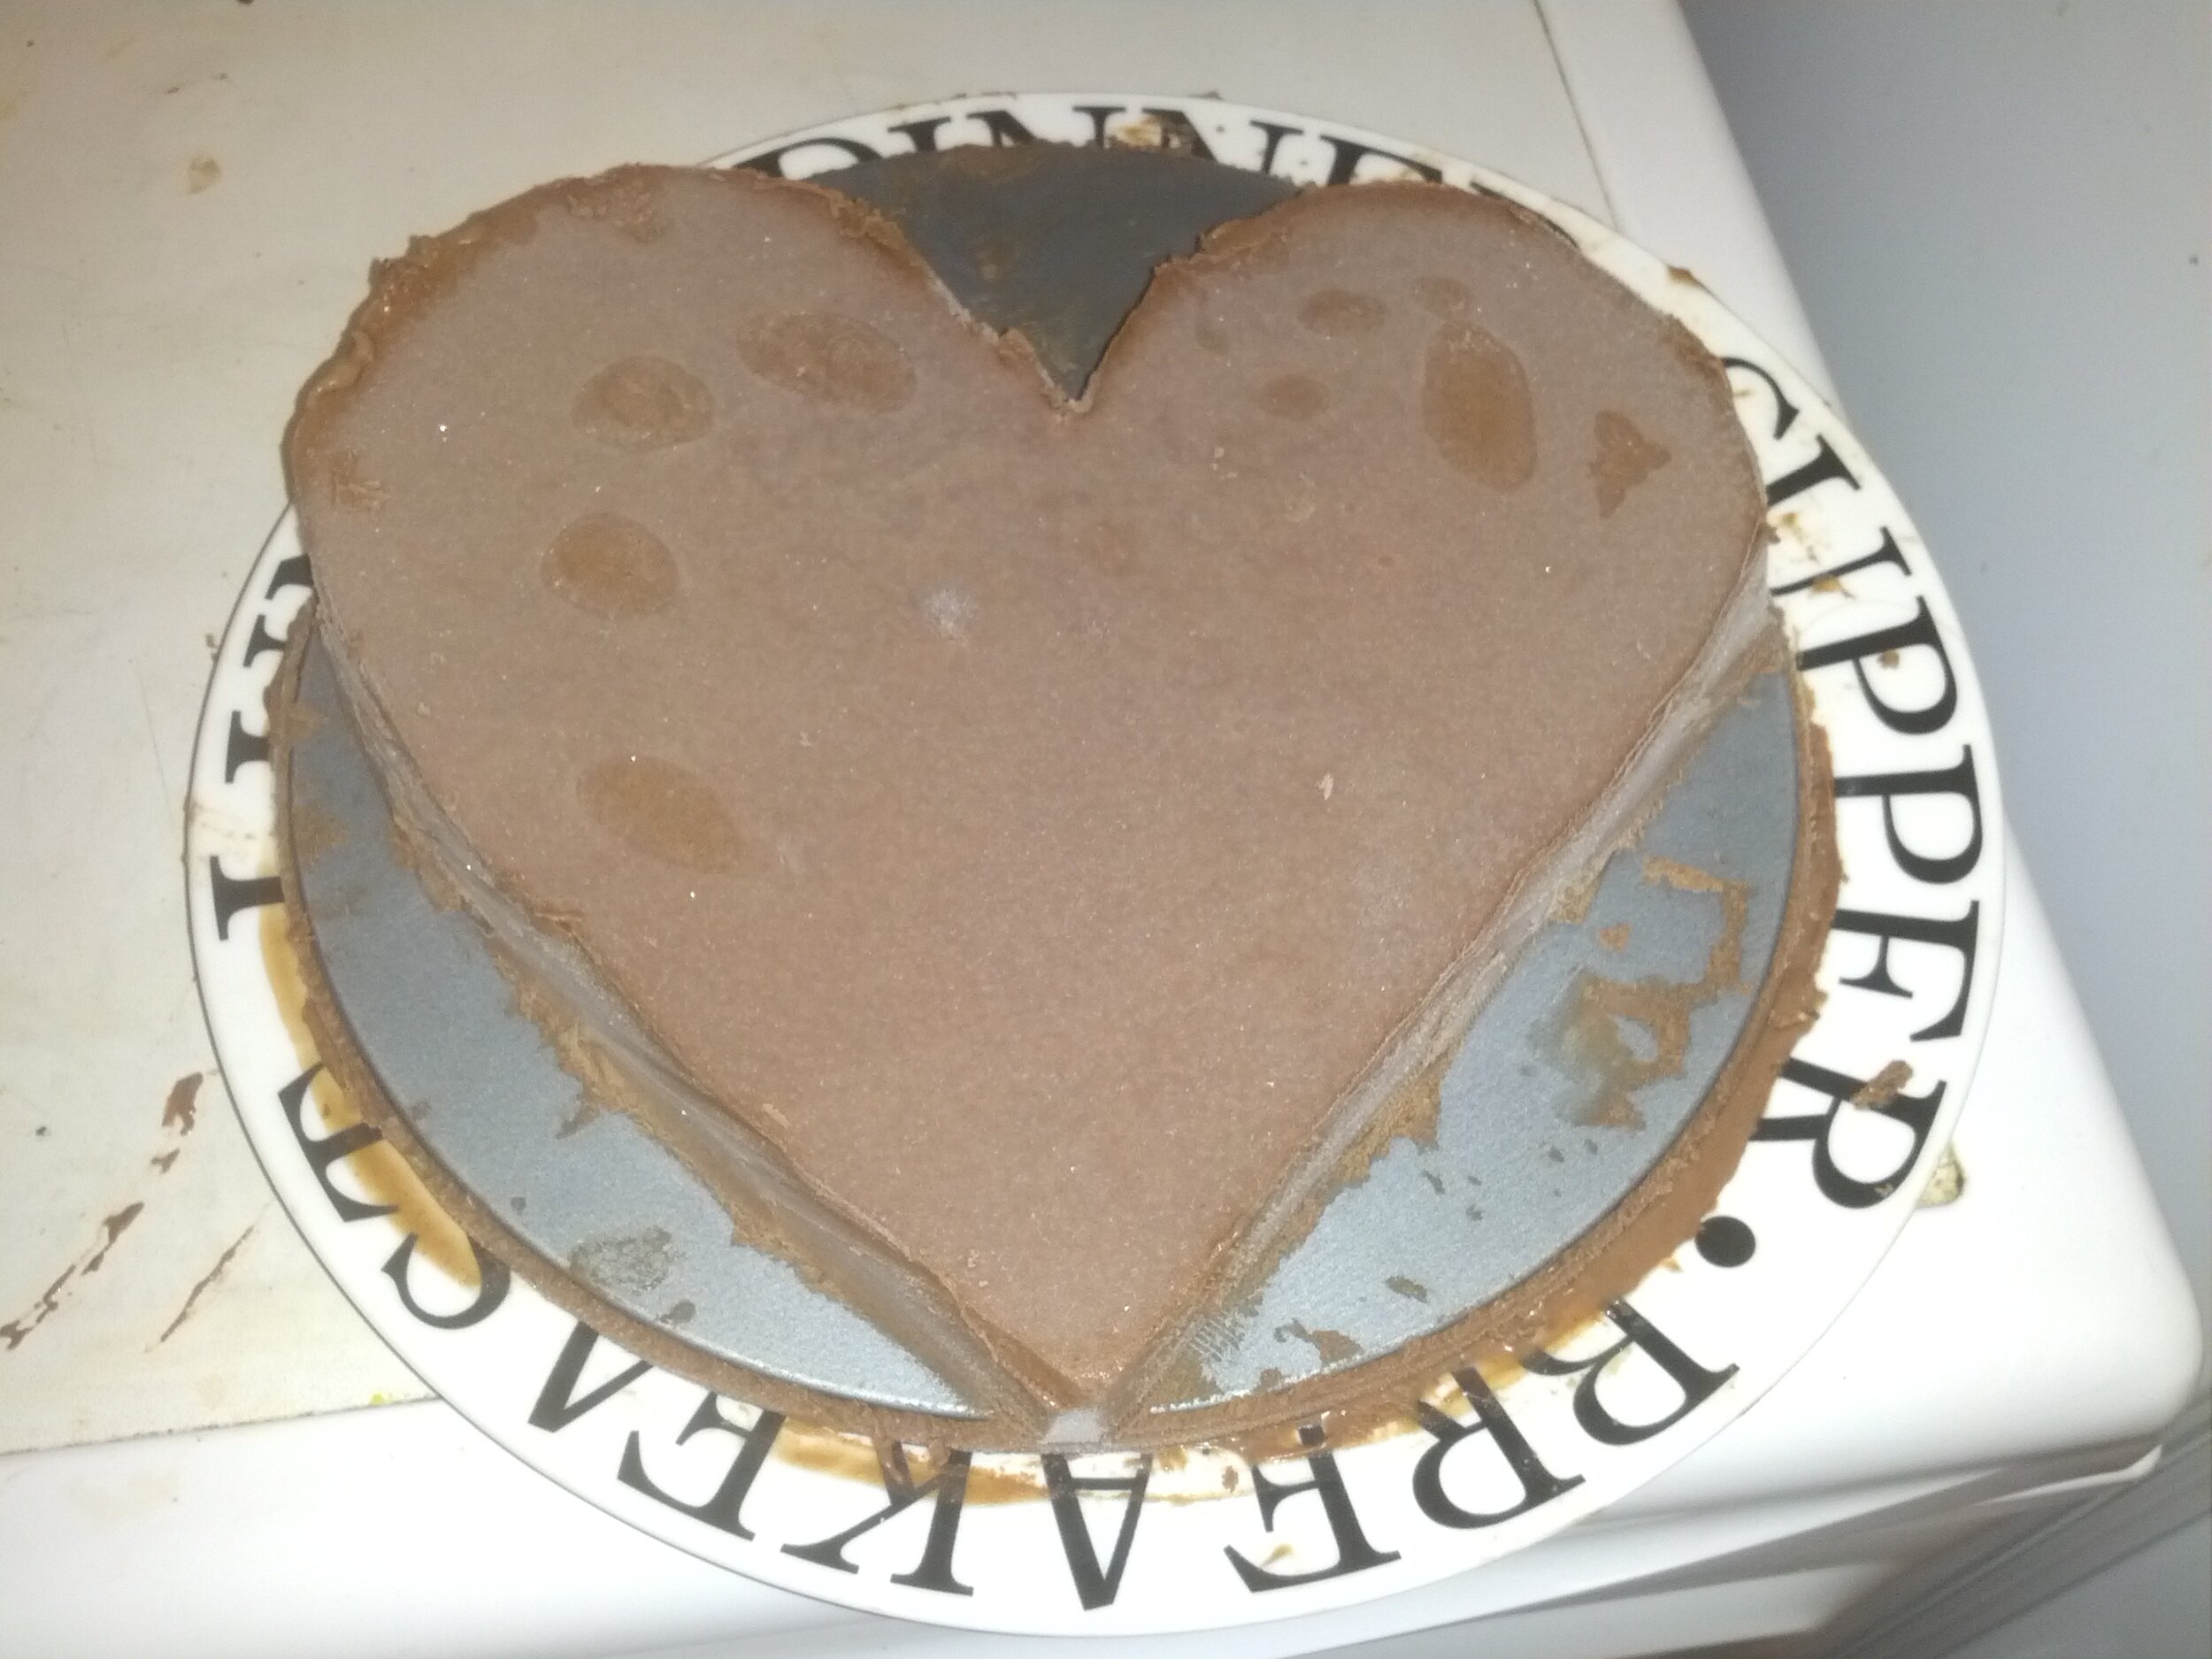
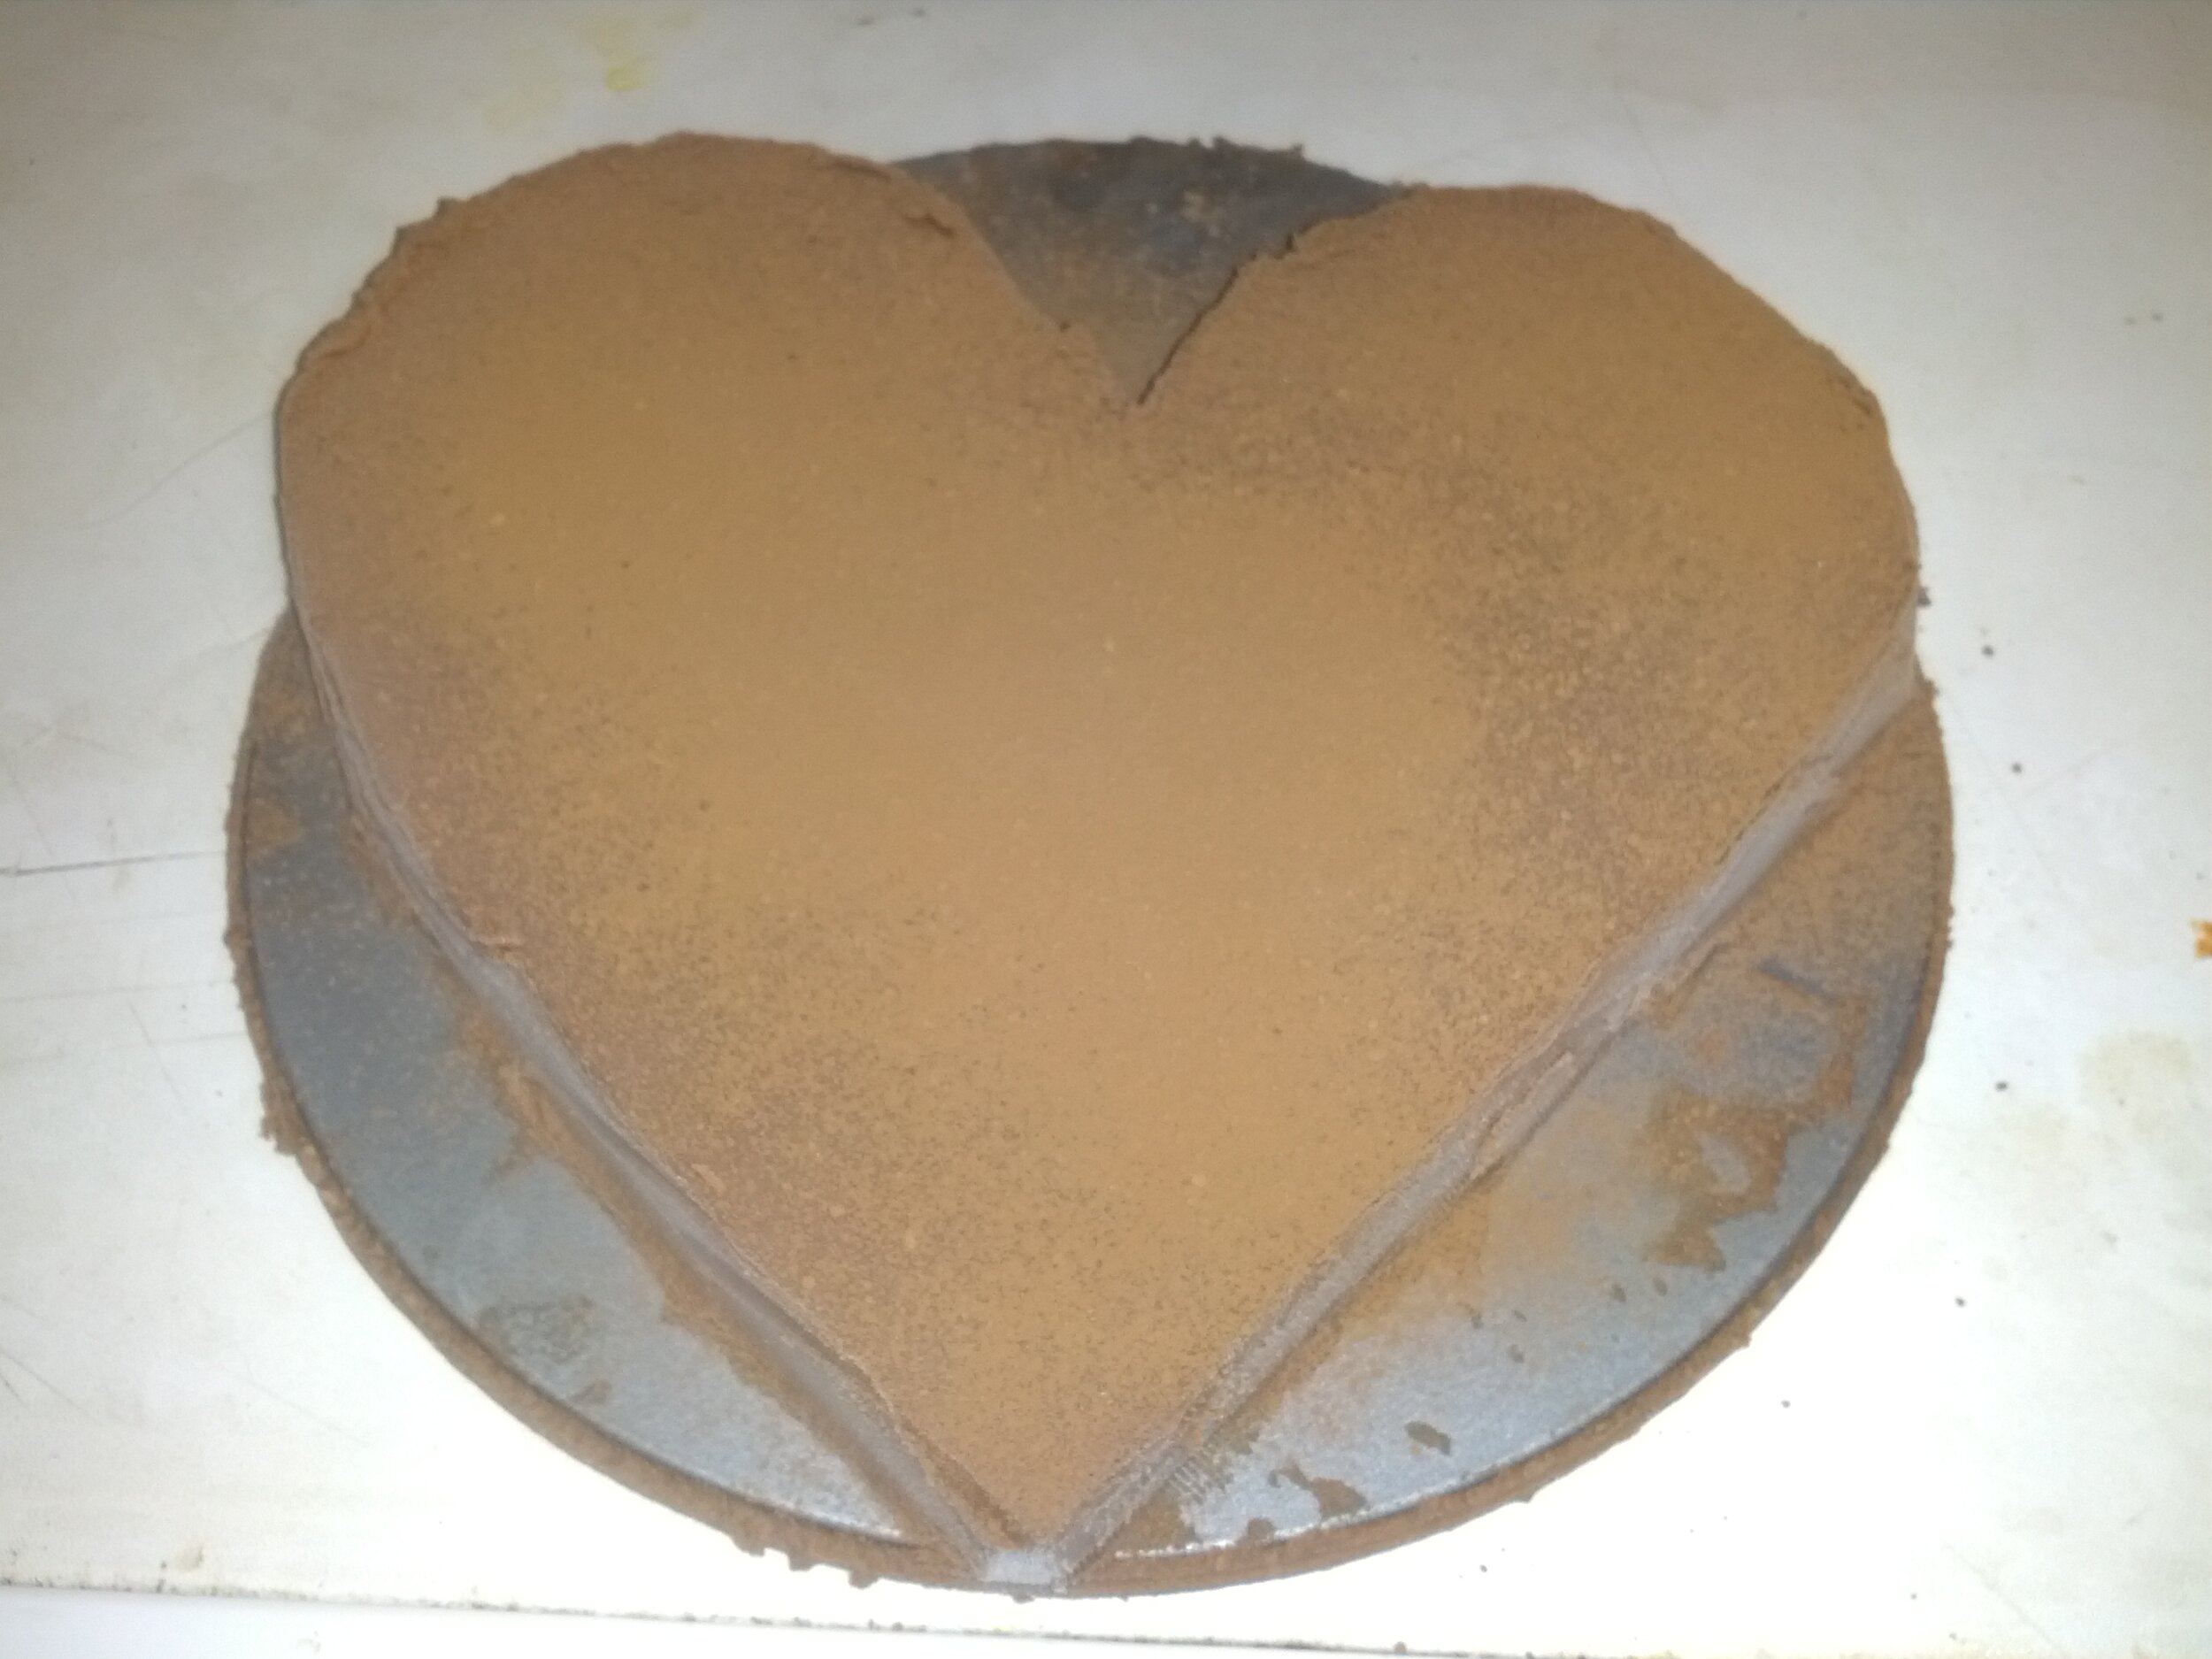
Decadent Chocolate Ginger Torte!

Happy Weekend! Here's a cake recipe!

This is my adaptation of a chocolate torte recipe to make it even yummier (just add ginger).*

Ingredients:

  • 250 g Dark chocolate

  • 2 tbsp golden syrup

  • 568 ml (pint) double cream

  • a handful of glacé ginger

  • as much ground cinnamon as you can handle :p

  • coca powder (for dusting)

How-to:

  1. Break the chocolate into a bain-marie along with the golden syrup and about a third of the cream.

  2. Heat over a low heat until melted (~15 mins).

  3. Wait for the chocolate to cool to 'just warm' (I forgot to do this so it didn't work out as well as hoped).

  4. While the chocolate cools put the remaining cream, the cinnamon and ginger in a bowl and whisk until the cream takes a few seconds to lose its shape.

  5. Fold the chocolate mixture into the cream.

  6. Pour the mixture into a cake tin and allow to set in the fridge (I had to use the freezer because I messed up the earlier step).

  7. Dust with cocoa.

  8. Serve :)

Tom out!

*Apologies to people who don't like ginger - you won't find this tasty.

P.S. The original recipe: http://www.bbcgoodfood.com/recipes/1357/decadent-chocolate-truffle-torte


Maple Syrup Refrigerator Cake

Well this is my first proper post on this new blog and what better way to start than with some baking!Since I will be attending a small Tea Party this week I decided to make a Refrigerator Cake (sometimes called Tiffin) with a twist. And while I was at it I also made a normal refrigerator cake (because I'm a scientist and needed a control cake, plus there was a house warming to attend later in the day).

Ingredients

To bake along with this blog obtain the following ingredients:

  • 4 oz (125 g) Margarine

  • 2 oz (50 g) Soft Brown Sugar [for an original refrigerator cake substitute Caster Sugar]

  • 2 tbsp. Maple Syrup [for an original refrigerator cake substitute Golden Syrup]

  • 2 tbsp. Drinking Chocolate

  • 1 tbsp. Cocoa

  • 10 oz (300 g) Crushed Digestive Biscuits

  • 2 oz (50 g) Glacé Cherries [chopped]

  • 2 oz (50 g) Raisins

You can also add chocolate icing (however, since this is such a rich cake I never feel it needs it!):

  • 4 oz (125 g) Plain Chocolate

  • 1/2 oz (15 g) Butter

Recipe

  1. Place margarine, syrup, sugar and milk in a pan and heat gently.

  2. Add drinking chocolate, cocoa and half the biscuits and mix well.

  3. Add remaining ingredients and stir until thoroughly mixed.

  4. Press into an 8 inch (20 cm) Sandwich tin.

  5. Chill in fridge until set then remove from tin.

Icing (optional)
  1. Melt chocolate and butter in a small bowl over a pan of hot water (a bain-marie) and mix well.

  2. Spread over biscuit mixture and allow to set.

Step-by-Step Comparison

I decided to take comparison photos as I went along between the two (you know for Science! ...and baking).

[Original on the left, Maple syrup on the right]

Step 1:

DSCF8052

DSCF8053

Not much difference at this stage though the Maple syrup was obviously (and worryingly) runnier than the Golden syrup.

DSCF8054

DSCF8055

At this point the margarine just wouldn't mix with the Maple syrup and I seriously began to worry about the integrity of my dessert!

Step 2a:

Now there is potentially room for debate on the, until now, presumably uncontroversial topic of crushed digestives. Do you use old broken biscuits? Do you break them individually? Do you smash them with hammers? [Clearly not, that is silly and dangerous] Do any of these methods achieve such good results as in the next picture?

DSCF8058

Now this is definitely the most fun part of making a refrigerator cake because the answer, my friends, lies in using the trusty rolling pin:

Pictured: Biscuity doom

Step 2b:

DSCF8059

DSCF8060

The darker colour of the Maple syrup and brown sugar mixture is beginning to show. Also it is finally mixing well. [Watch out at this stage as the Maple syrup boils much quicker than its Golden cousin]

Step 3:

DSCF8061

DSCF8062

No difference at this stage but the second best part of making refrigerator cake is eating spare glacé cherries. Om nom nom!

Step 4:

DSCF8067

DSCF8066

Again the Maple syrup cake is much darker in colour and was scrumdiddlyumptious (at least I thought so, the real test will be at the Tea Party).

That's all for this Sponge Post :)